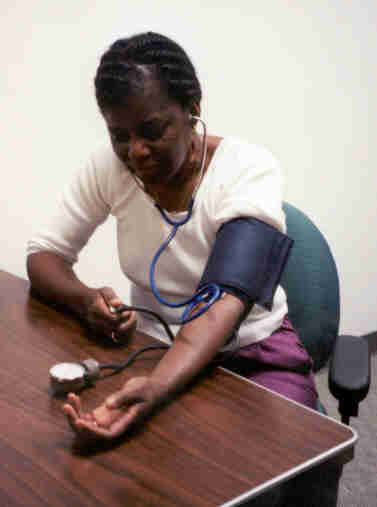
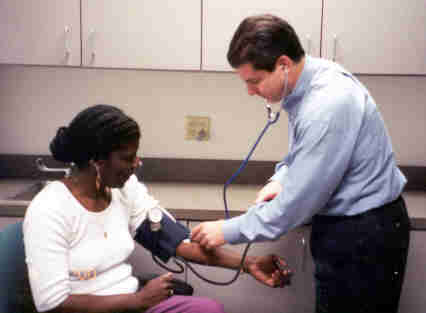
How to take your own blood pressure
If taking your blood pressure by yourself and using a standard sphygmomanometer (blood
pressure cuff), follow the instructions below.
|
1. Wrap blood pressure cuff snugly around your upper arm.
Place the stethoscope around your neck.
|
|
2. Position the meter so that you can easily read the
numbers.
|
|
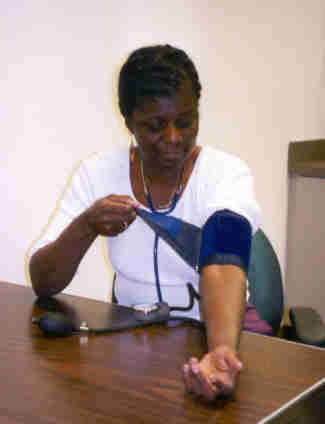
3. Place stethoscope ear pieces into your ears. Position
the bell of the stethoscope over where you felt the pulsation of your
brachial artery. Partially tuck the bell of the stethoscope under the
blood pressure cuff directly over the brachial artery.
|
|
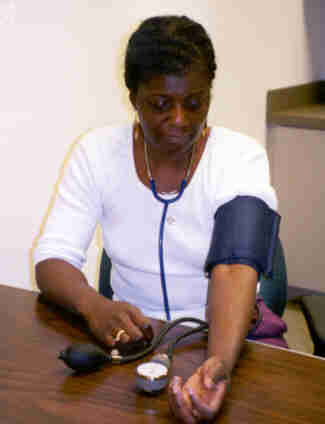
4. Tighten stopcock on side of bulb. Then, squeeze bulb
several times to inflate the cuff. Continue inflating cuff until you reach
180 mm. of pressure (or to 20 points above your last reading).
|
|
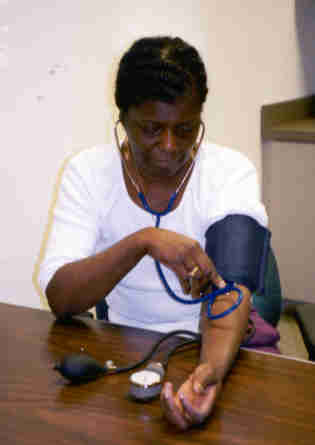
5. Open the stopcock slowly to release air and
observe the numbers on the meter. Note the number on the meter when you first heard sound
and the number on the meter when you last heard sound.
|
|
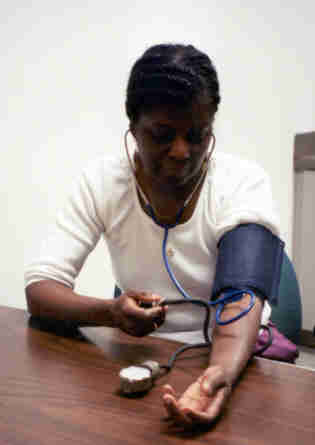
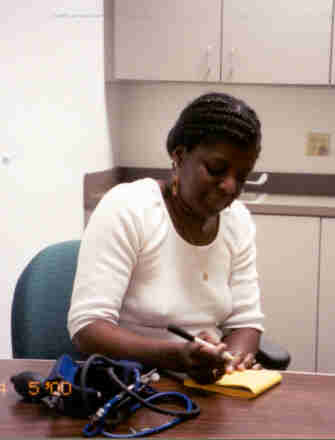
6. Record these two numbers with the higher number on the
top and the lower number on the bottom.
|
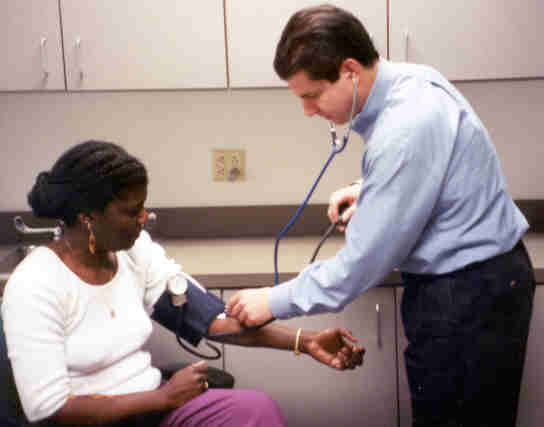
How to take your blood pressure if another person is helping you.
If another person is helping you and you are using a standard blood pressure
cuff with stethoscope, follow these instructions.

|
1. Have the person assisting you place the blood pressure
cuff on your upper arm snugly.
|
|
2. Helper should now don stethoscope and place the ear
pieces into ears. The blood pressure meter should be fastened to the blood
pressure cuff so that the helper can read the numbers.
|
|
3. Helper should place the bell of the stethoscope over
the area of the brachial artery pulse. Next, he should tighten the stopcock on
the bulb and inflate the cuff by squeezing the bulb.
|
|
4. After reaching 180 mm. (or 20 points above your last
reading), helper should slowly open the stopcock to release the air in the
cuff and listen
carefully for sound. Record reading as outlined in steps 5 and 6
above.
|
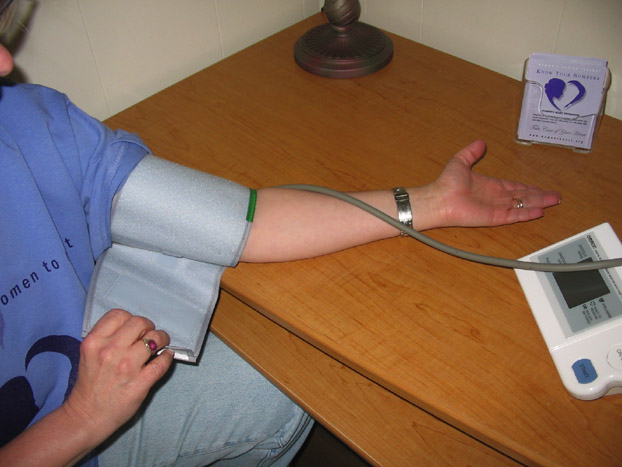
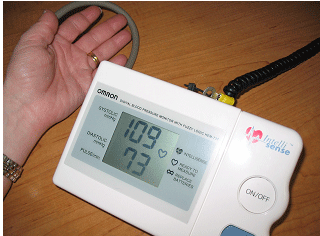
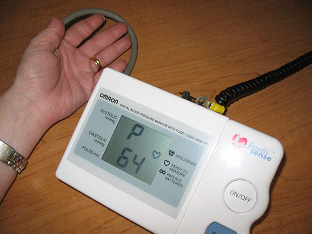
How to take your own blood pressure using a battery-operated digital device.
Digital blood pressure machines are nearly as accurate as air-driven ones. If you are using a digital blood pressure device, follow these instructions. Note that a digital blood pressure device should be checked for accuracy every 6 months, comparing results with your doctor's mercury-driven machine.
|
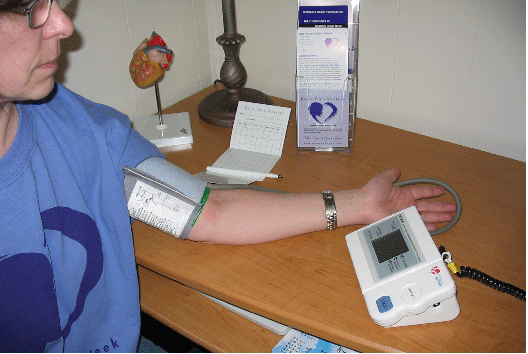
1. Apply the blood pressure
cuff snugly onto your upper arm about one inch above the crease in the bend of your arm. Velcro closure may be released and reset to tighten cuff as needed.
|
|
2. Sit quietly with your arm straight, palm up and your elbow resting in a relaxed position on the table. Your upper arm should be about the same level as your heart.
|
|
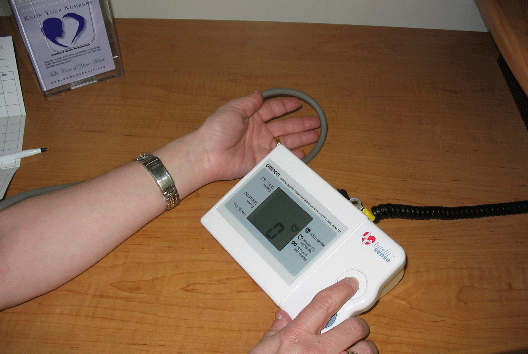
3. Turn on the machine by pressing the "ON" button. Wait for the blinking heart to appear in the read-out screen, then press the "START" button.
|
|
4. The cuff will tighten, then slowly release. In less than 60 seconds, your digital blood pressure reading will appear in the read-out screen.
|
|
5. Your pulse rate (number of heartbeats per minute) will also appear in the read-out screen.
|
|
6. Record reading as outlined in steps 5 and 6
above.
|
|
Alcohol and Heart Disease |
Gender Differences |
Mitral Valve Prolapse |
Women’s Heart Risk Quiz
Sleep Disturbances: Heart at Risk |
What is Heart Disease? |
Cardiac Arrhythmia Management in Women |
Heart Disease Facts |
Panic Attack or Heart Attack |
Three Women from New Jersey
|
Noreen
|
Back to top
Disclaimer | Donate Now | Contact Us | Site Map | Store
|
©1999-2000; updates: 2002, 2004, 2005, 2007 Women's Heart Foundation, Inc. All rights reserved.
Unauthorized use prohibited. The information contained in this Women's
Heart Foundation (WHF) Web site is not a substitute for medical advice or
treatment, and WHF recommends consultation with your doctor or health care
professional.
|
|
|


